I'm very fortunate to have access to a multi-material 3D printer for the coming months. Thus far, I've only worked with powder and plastic-based 3D printers, so I'm eager to find the advantages and limitations of resin-based printers. For the next few months I'll be working with an Objet260 Connex, a polyjet printer that allows you to mix two materials to create up to 14 different material properties).
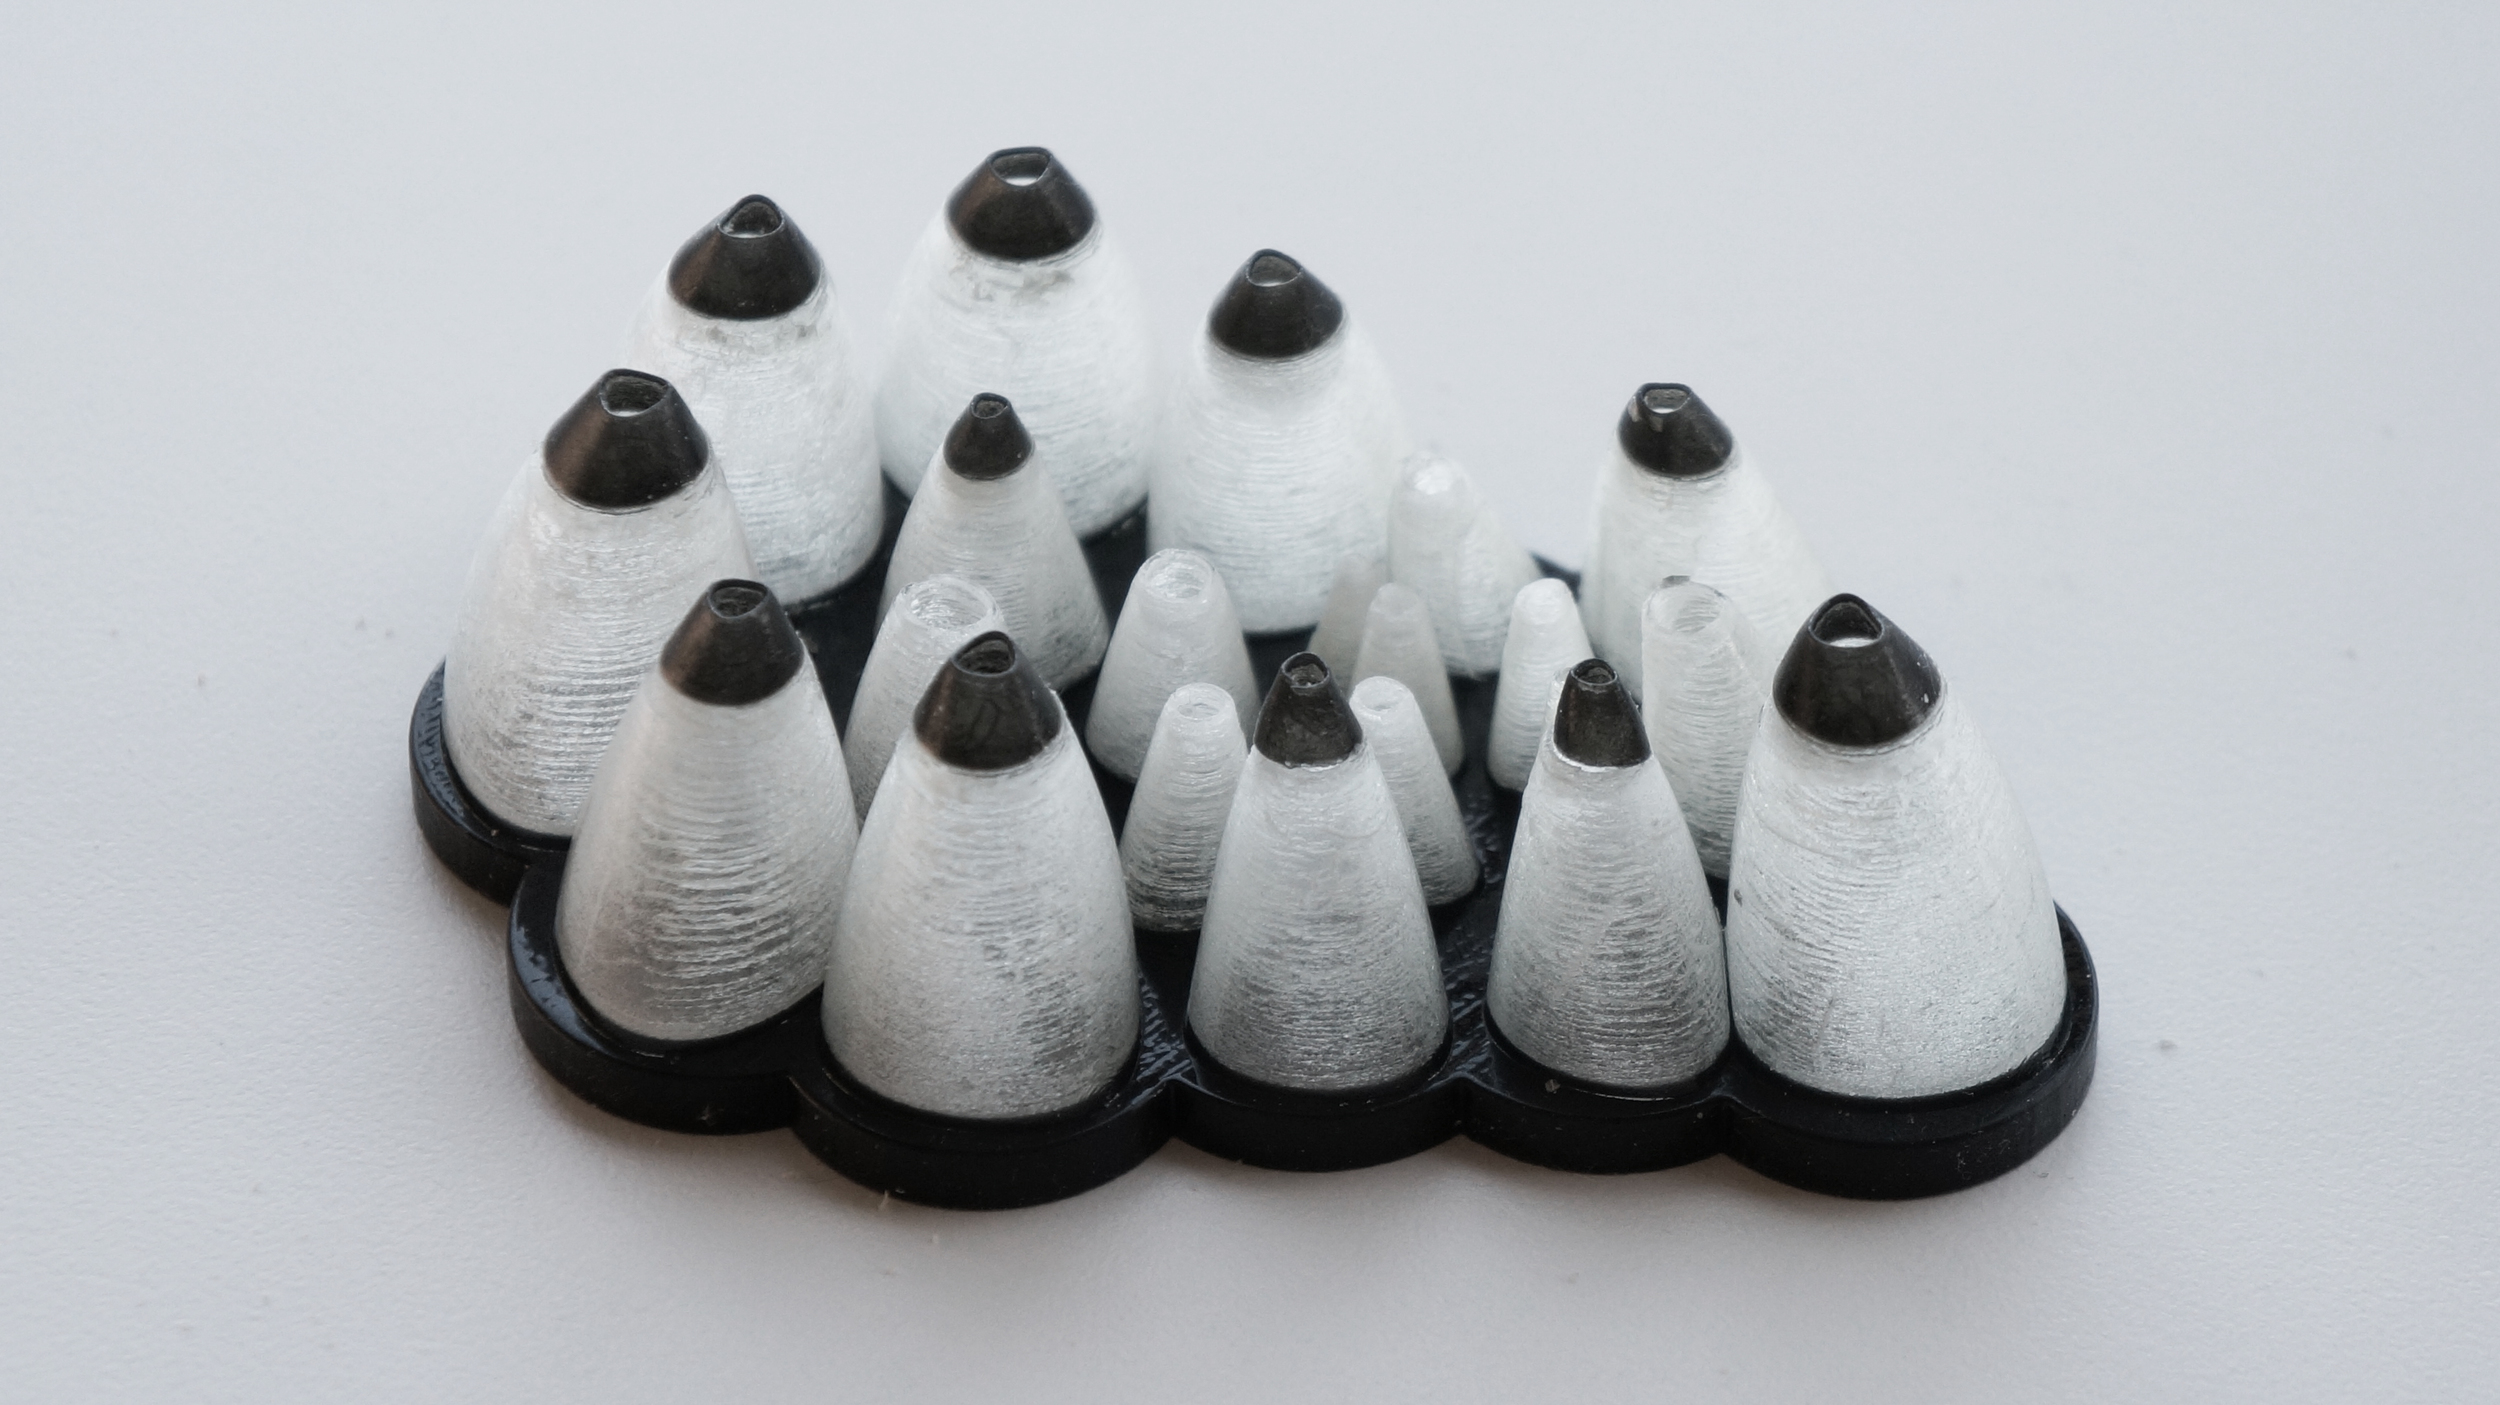
As my first test with the machine and workflow, I decided to try to recreate a small material sample from Neri Oxman and Iris van Herpen's Anthozoa Cape & Skirt. It was printed by a similar machine, although using different materials than what I have available.
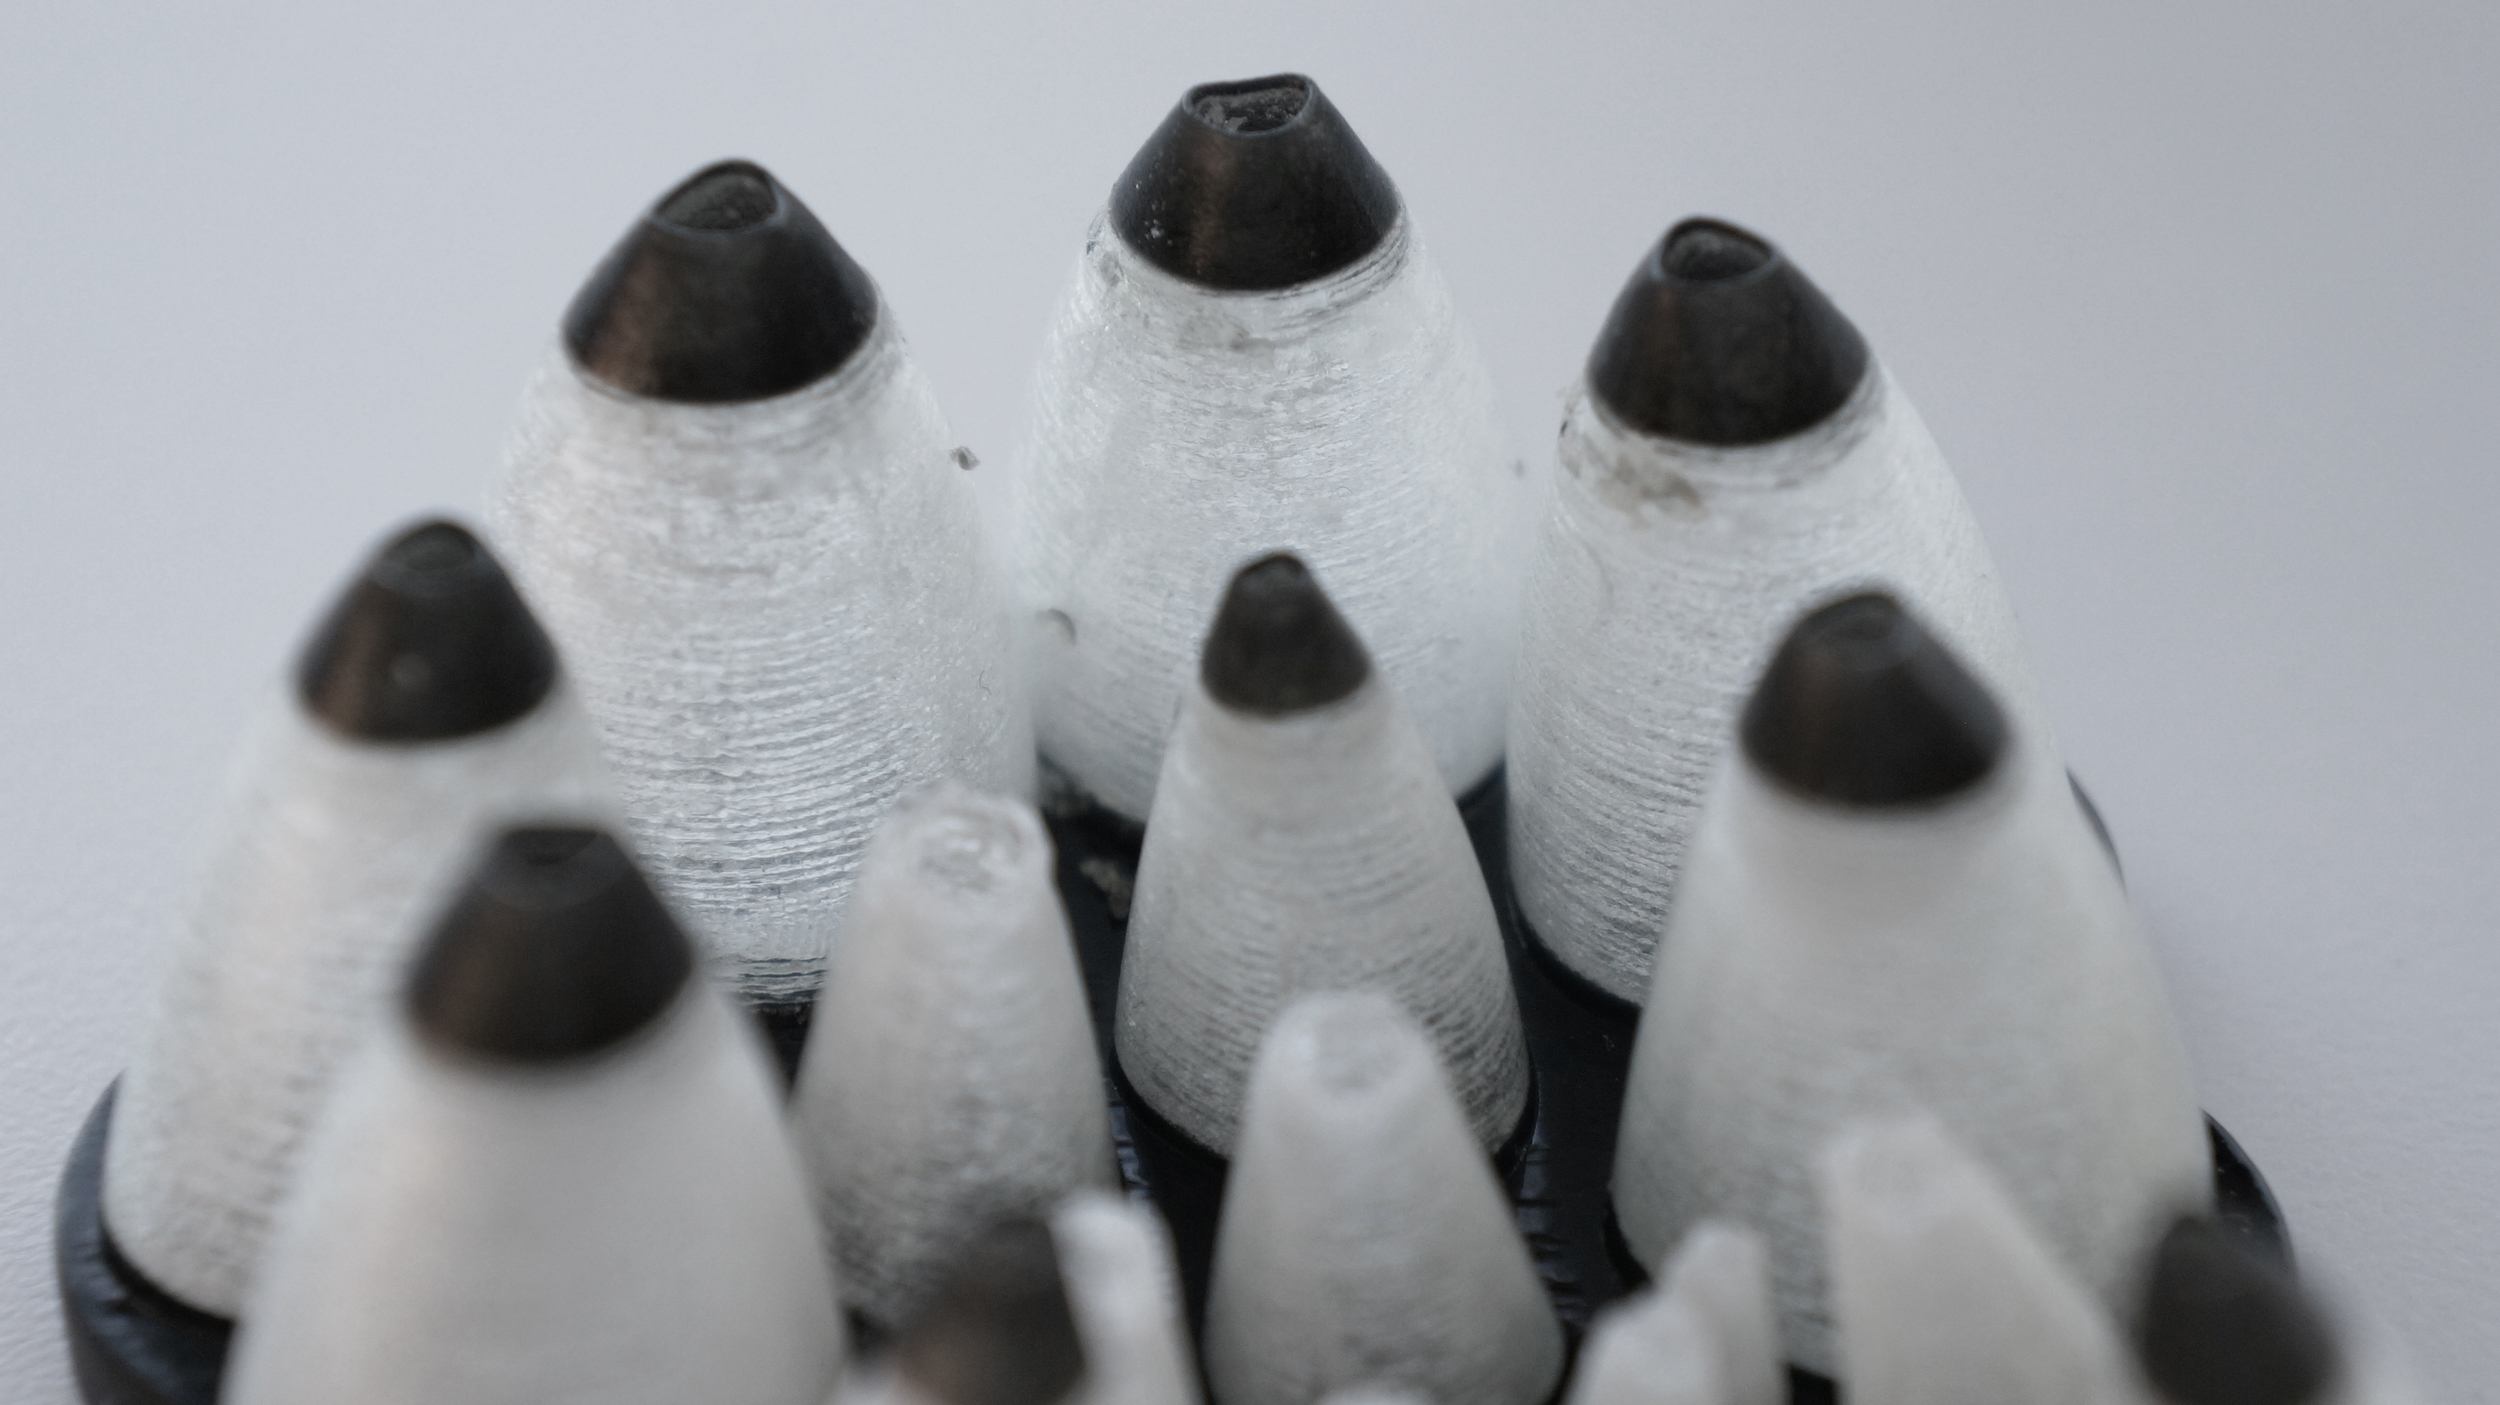
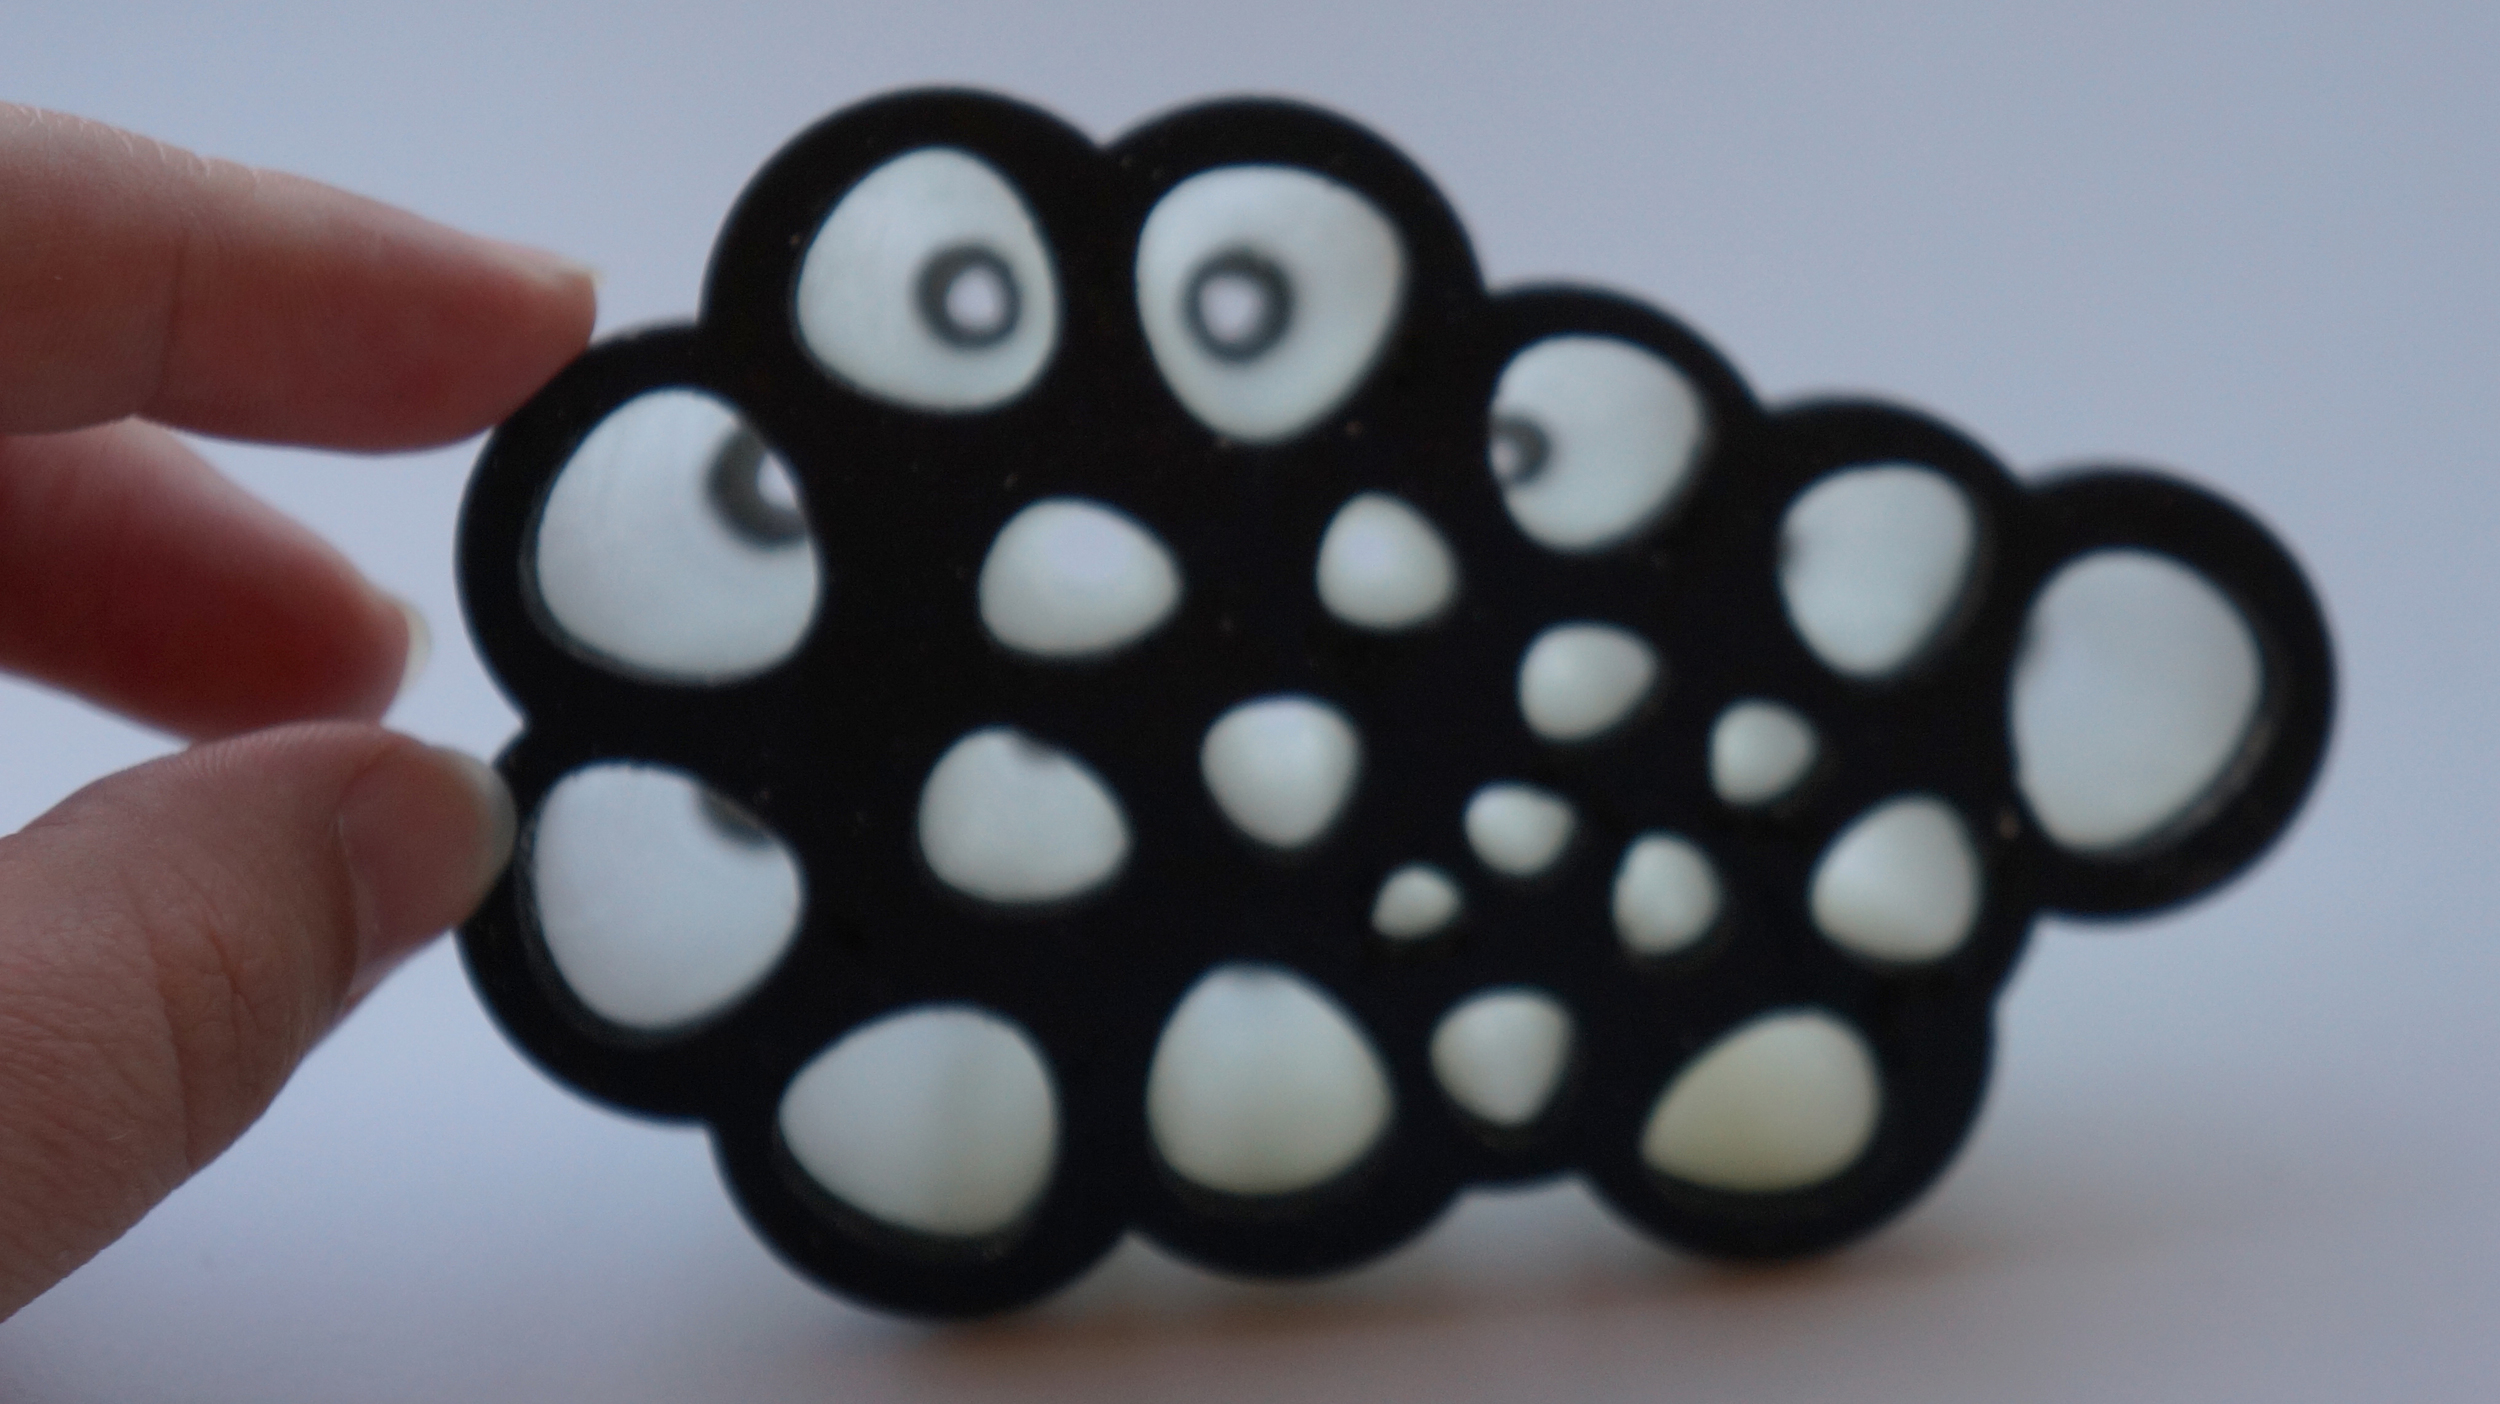
I created a simplified parametric model of a polyp colony, using Tango Black (rubber) for the base and tops, and Vero Clear (rigid plastic) for the shells.

If you have Rhino5 and Grasshopper, you can download this .zip file to play around with the script. Adding/moving points will change the shape of your colony.
A few things learned from the printing process below:
- Although you can mix the two materials to create 14 material properties, there's no default way to actually blend materials. So if you want a gradient from soft to hard or light to dark, you need to plan your digital geometry to get the desired material effect.
- Objets use a ton of support material. It's very difficult to remove from complex/porous/hollow geometry, and you risk damaging any delicate detail in the process.
- Provide decent surface area when changing materials. If you notice in the images below, the smaller polyps lost their rubber tops during cleaning while the larger ones were able to survive. All the polyps have strong connection to the rubber base.